As an Amazon Associate, we earn from qualifying purchases. Some links on this site are affiliate links at no extra cost to you. Our recommendations are based on thorough research and editorial judgment.

How to Light Stairs, Steps and Slopes Safely With Motion Sensors
1) System overview: Use PIR or dual‑tech sensors mounted 1–1.5 m at landings and mid‑run, driving 12 V COB LED strips at 4–10 W/m, with controllers set for 5–60 s timers and daylight gating for energy savings. 2) Placement and brightness: Aim for ≥100 lumens per tread, warm 2700–4000K LEDs, recessed diffusers to reduce glare. 3) Wiring and controls: Use common 12 V rail, logic‑level MOSFETs with heatsinks, 14 AWG for runs. Continue implementation details.
Key Takeaways
- Place motion sensors at 1–1.5 m height on landings and mid-stair for full tread coverage and to detect ascent versus descent.
- Use dual-technology (PIR + microwave) sensors or overlapping PIRs to reduce false triggers and ensure reliable activation.
- Install warm/neutral COB LED strips (2700–4000K) at 100+ lumens per light, directing beams to illuminate treads without glare.
- Wire LEDs to a 12V DC supply with common ground, logic-level MOSFET switching, and appropriate wire gauges (14 AWG for rails, 18 AWG for sensors).
- Set sensor timers to 5–60 seconds, test during peak traffic, and choose IP-rated fixtures for outdoor or damp locations.
How Motion Sensor Stair Lights Work
1. Overview: Motion sensors in stair lights detect movement using dual sensors positioned at each stair end, providing overlapping coverage and reducing blind spots, which enables the system to automatically turn on COB LED strips when occupancy is detected. 2. Control and timing: Controllers process sensor input, apply adjustable timers often set between 5 and 60 seconds, and issue shut-off commands to maximize energy efficiency while maintaining safety. 3. Installation and performance: Typical COB strips require 12V DC and 4–10 W per meter, mounting on 50–70 mm tread noses or 10–15 mm riser channels, ensuring even illumination and low glare. 4. Operation in darkness: Sensors operate in low-light conditions, maintaining reliable activation and reassuring consistent guidance. Adjustable durations improve user experience and reduce consumption. Additionally, smart home integration allows users to control stair lights remotely, enhancing convenience and customization.
Types of Motion Sensors for Stairs

While multiple sensor types exist, 1. 1) Passive Infrared (PIR): PIR motion sensors detect heat signatures from people within approximately 6–8 meters, suitable for enclosed stair lighting zones, they require minimal power and respond well to single-direction traffic. 2) Microwave: Microwave sensors emit radio waves 10.525 GHz, penetrate obstructions up to 10 meters, for open or multi-level stairwells, they are sensitive and may need motion detection sensitivity adjustment. 3) Dual-technology: Combined PIR and microwave reduces false triggers, recommended where false alarms are critical, adjust the PIR range to 3–5 m and microwave to 6–8 m. Installation example: pair each stair level sensor with 12 V DC LED strips mounted 30–50 mm below tread nosing for uniform illumination. Test coverage during traffic periods, adjust accordingly. Solar-powered lights are an eco-friendly alternative to traditional lighting, and they enhance home safety by providing bright illumination while reducing reliance on the electrical grid.
Recommended Products

Advanced Foam Cleaning System – Fast, Even Coverage for Tough Everyday Messes: Generates rich, clinging foam that helps dissolve and lift stubborn stains on kitchen grease, bathroom residue, dining spills, and pet accidents. Three-step process (On-Trigger Foam Prep, Even Spray, Dirt Break-Down) works to reduce smearing and boost cleaning efficiency. Lab-tested for safe use on sealed floors; helps protect against surface damage and watermark-free.
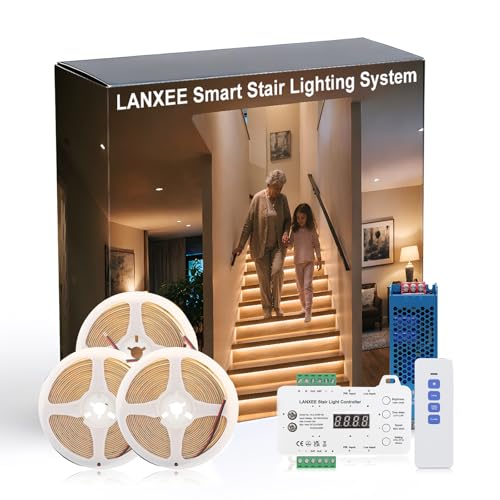
Motion Sensor Stair Light: As you move up or down the stairs, the LED stair lights indoor automatically turn on in sequence. Once you leave, they gently fade out, creating a smooth and elegant lighting effect that adds a modern and chic ambiance to your home

1.Dual sensors (motion + daylight) auto-activate lights in dark/occupied areas; 6 lighting modes + 3 shut-off modes for custom ambiance.
Planning Placement and Coverage
Section 1: Overview — Planning placement and coverage requires a systematic layout that maps each stair, determines sensor heights and angles, and specifies illumination targets such as at least 1 lux for safe nighttime visibility. 1. Mapping and spacing: The planner marks every tread and riser, assigns a dedicated motion sensor per step where feasible, and notes blind spots, aiming for sensors mounted 1–1.5 meters high, angled to cover 0–6 meters of approach. 2. Directionality and response: Install sensors at top and bottom landings to distinguish ascent from descent, enabling staged lighting sequences that follow the user. 3. Interference mitigation: Position sensors to minimize overlap and pet triggers, secure mounts discreetly, and test coverage with measured lux readings before finalizing. Document placement, obtain approvals. Ensure that IP67-rated fixtures are used for any outdoor installations to provide protection against dust and immersion in heavy rain.
Recommended Products

Motion-Activated Lighting: Lights turn on in sequence as you step onto the staircase and gradually turn off step by step when you leave, creating a smooth and elegant lighting effect.

Motion-Activated Lighting: Lights turn on in sequence as you step onto the staircase and gradually turn off step by step when you leave, creating a smooth and elegant lighting effect.

Motion-Activated Lighting: Step onto the staircase, and the lights illuminate smoothly in sequence. As you leave, they turn off step by step, creating a sophisticated cascading effect that enhances your home’s ambiance.
Selecting the Right Lights and Brightness
Choosing fixtures and brightness levels requires a methodical assessment of lumen output, color temperature, mounting location, and power source to meet illumination targets and integrate with motion sensors. 1. Lumen requirements: specify a minimum of 100 lumens per light, calculate light count by stair length and riser spacing, avoid dark spots by overlapping light beams and using 10–20% lumen overlap. 2. Color and contrast: select warm or neutral white (2700–4000K) for visibility and comfortable contrast on tread edges. 3. Sensor integration: choose Motion Activated Sensor Lights For Stairs with adjustable brightness and response times, test trigger zones and delay intervals. 4. Power options: evaluate hardwired versus battery solutions for maintenance, accessibility, and installation constraints. Consider fixture beam angles to control glare and step illumination. Solar-powered motion sensor lights can be an environmentally friendly alternative, providing bright and automatic illumination while reducing electricity costs.
Recommended Products

Automatic Sensing: Thanks to the integrated motion sensor and dusk-to-dawn sensor, this smart night light will only turn on when light is insufficient and power off automatically after 15 seconds of no detected motion.

💡𝗘𝗟𝗘𝗚𝗔𝗡𝗧 & 𝗘𝗙𝗙𝗜𝗖𝗜𝗘𝗡𝗧: Operates on just 3W to produce a beautiful accent glow, creating a seamless, built-in architectural look with minimal impact on your energy bill.

Motion-Activated Lighting: Lights turn on in sequence as you step onto the staircase and gradually turn off step by step when you leave, creating a smooth and elegant lighting effect.
DIY Motion Activated Stair System — Parts List
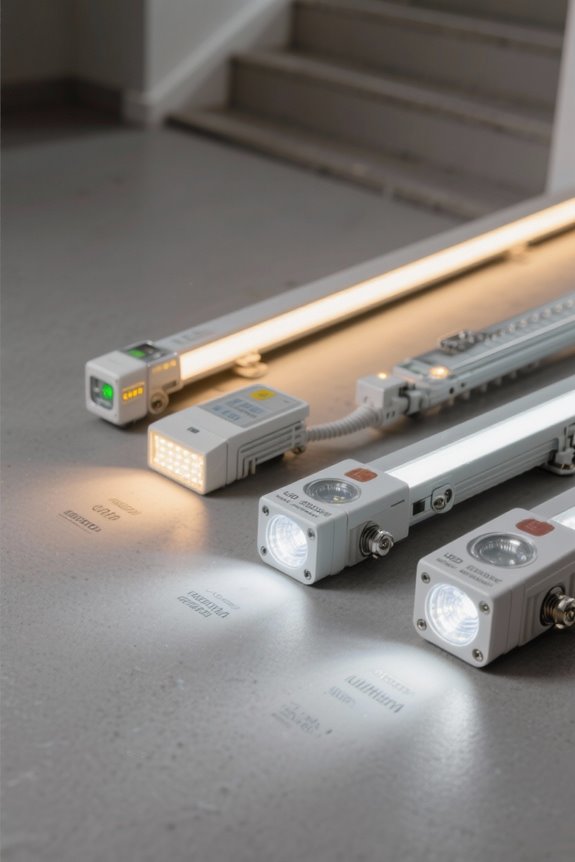
1. Parts overview: An Arduino Mega microcontroller is recommended to coordinate motion detection, timing, and lighting effects, sized for large staircases with many inputs and outputs. 2. Power components: A 12 Volt power supply provides main power, paired with a buck converter to produce stable 5 volts for the Arduino and sensors, rated for current equal to total LED strip load plus controller overhead. 3. Per-step hardware: Each step requires a light sensor to detect interruption or ambient change, and sufficient length of LED strip for uniform illumination; quantities equal the number of steps, plus spare sensors and connectors. 4. Accessories: Mounting brackets, diffusers, and a waterproof rating for lights are recommended. Documentation, labels, and a clear parts list simplify assembly and maintenance checks. 5. Consider the impact on property insurance, as 30% of insurers provide discounts for improved exterior lighting, and documenting installations can aid verification.
Wiring and Electronics: MOSFETs, Lasers, and Sensors
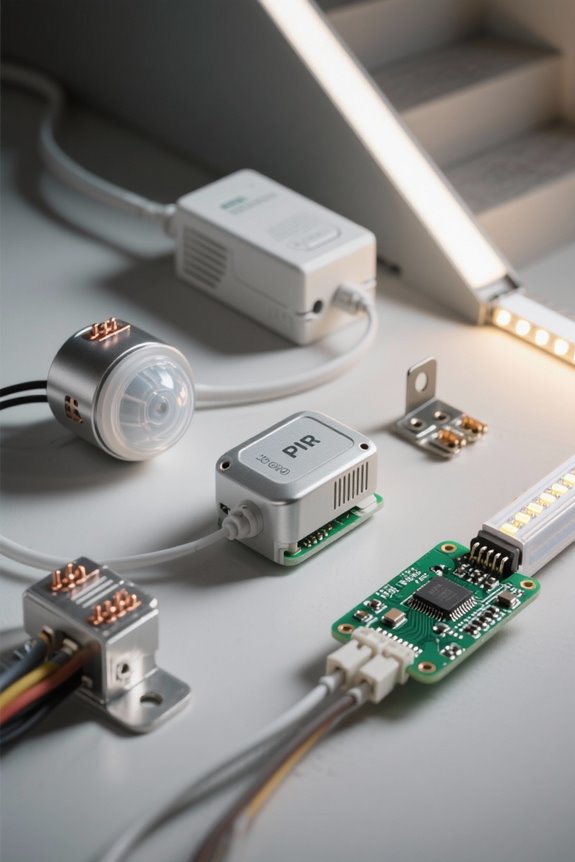
2.1 Wiring architecture: When installing the wiring and electronics for a motion-activated stair system, the design must place logic, power distribution, and switching components in predictable locations, with a common ground and separate rails for 12 V LED power and regulated 5 V logic, so that sensors, lasers, MOSFET gates, and the Arduino share reference voltages and avoid ground loops. 1. Power rails and routing: run 14 AWG for LED strip main feeds up to 5 m, use 18 AWG for lasers and light sensor supplies, and place a 5 V buck converter within 30 cm of the Arduino. 2. Switching: select logic‑level mosfets rated ≥30 V, Rds(on) <50 mΩ, mount on heatsinks. 3. Sensors: wire light sensor outputs to A0–A14, use ground, caps. Additionally, ensure that IP65 weatherproofing is considered for any sensors or components exposed to outdoor conditions to ensure long-term durability and performance.
Mounting, Testing and Fine‑Tuning
Section 1: Mounting overview — The wiring architecture and component placement specified in the previous section inform the physical mounting, so lasers should be positioned coaxially with photoresistor centers, typically 5–10 mm lateral tolerance and 1–3 mm vertical tolerance, with each emitter aimed at the geometric center of the sensor housing to maximize irradiance on the active area and reduce false negatives under ambient light variations; use hot glue or a quick‑dry epoxy bead sized 2–3 mm to secure laser modules and sensors to treads, route 14 AWG LED feed along the riser centerline with 5–10 cm service loops at each step, and fix 18 AWG sensor and laser supply runs with cable clips every 15–20 cm to prevent mechanical strain. Weatherproof outdoor lights are designed to withstand extreme weather conditions, ensuring they remain functional even during rain, snow, or high winds, making them ideal for outdoor installations.
Frequently Asked Questions
How to Light up an Outdoor Staircase?
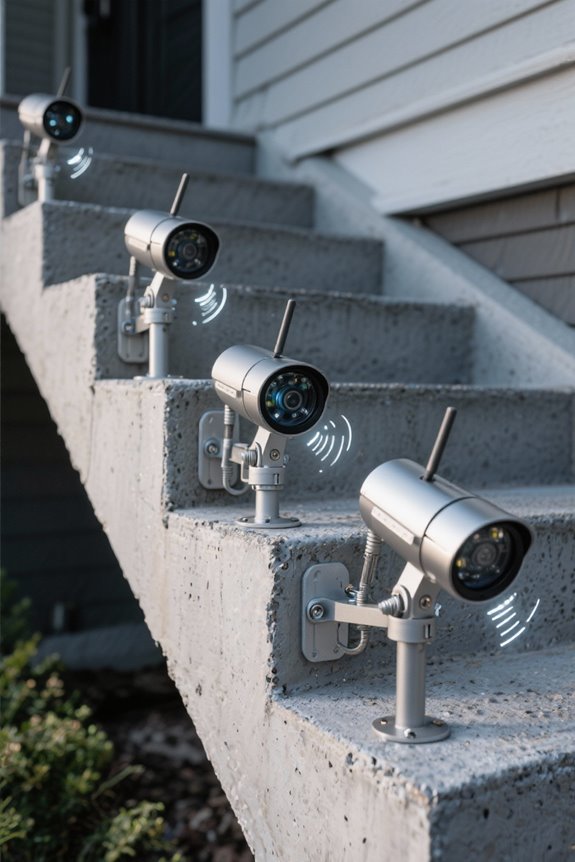
They illuminate an outdoor staircase by installing weatherproof step lights and solar motion sensor fixtures, combining motion detection for security, ambient illumination for visibility, and strategically placed units to prioritize staircase lighting and outdoor safety.
What Are the Disadvantages of Motion Sensor Lights?
Coincidentally, they have false triggers from pets or traffic, limited range requiring precise placement, power dependency causing outages or constant draw, and higher installation costs, making them unreliable and more expensive than simple fixed lighting.
How to Install Stair Sensor Light?
Installer mounts sensors at each stair section; sensor placement tips guarantee coverage. Follow wiring motion sensors in parallel to Arduino with buck converter. Adjusting sensitivity settings, test paths and consider choosing bulb types for safety.
How to Illuminate a Stairwell?
Install motion activated LED fixtures and low glare wall lights to illuminate a stairwell; fixtures complement stairwell design, employ varied lighting styles, incorporate safety features like step level illumination, and prioritize energy efficiency with timers.


